

How to Get Started with Digitizing Your Family's Precious Memories
Ready to dive into the world of digitizing your family memories? Whether it’s old photo albums, VHS tapes, slides, or treasured family documents, starting a digitization project can feel a little overwhelming. But don’t worry—breaking it down step-by-step can help you get started and make it manageable. Let’s get your memories preserved for generations to come!
1. Gather Your Materials for Digitization
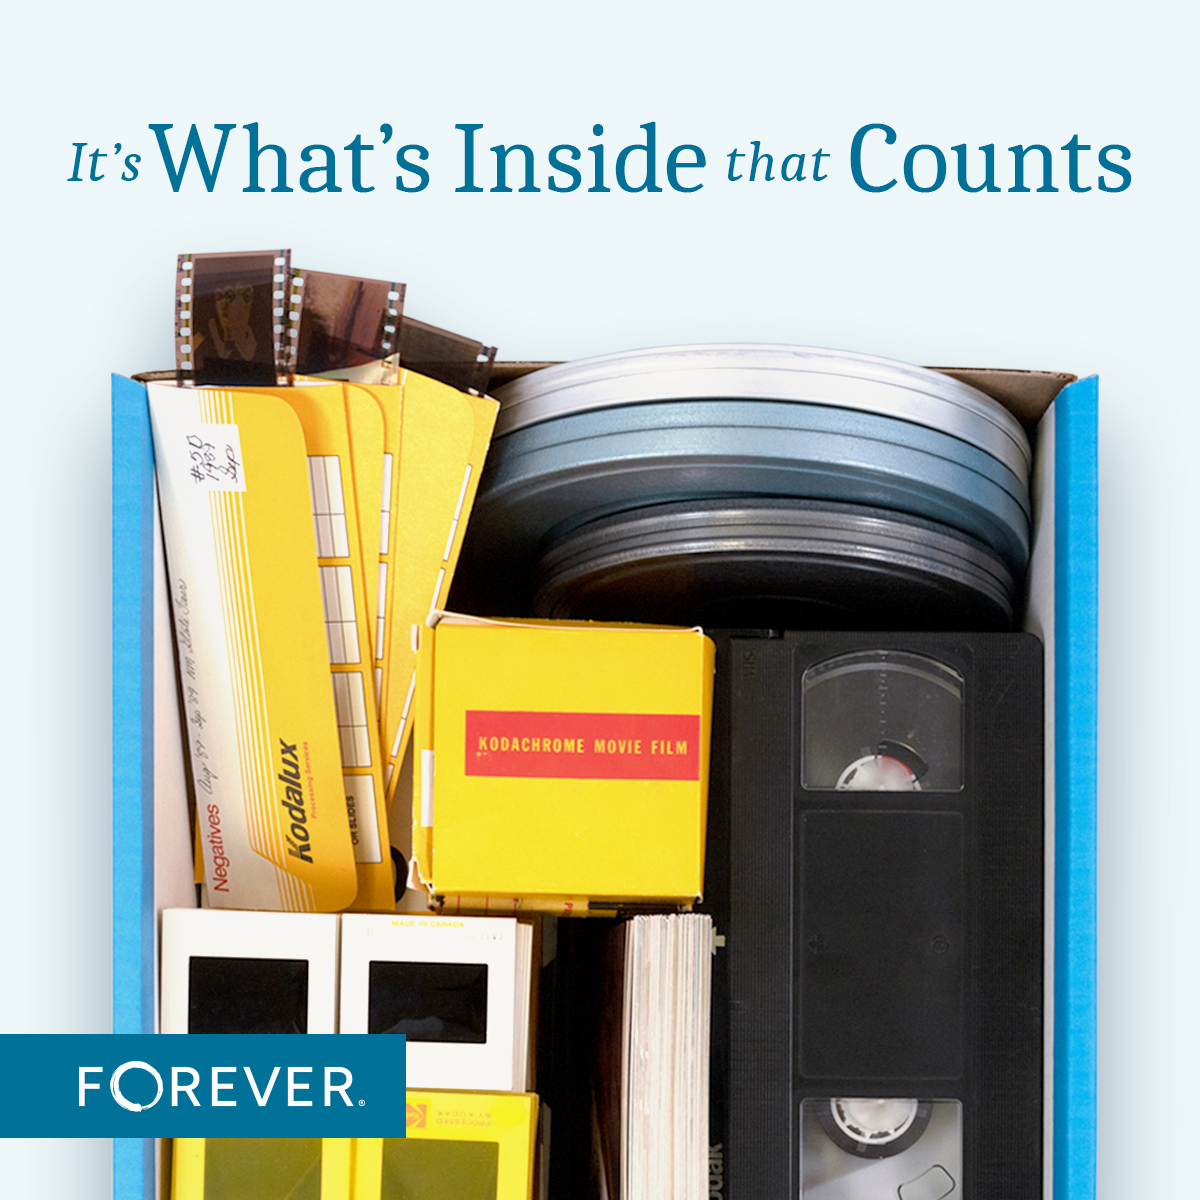
Start by gathering everything you want to digitize. Go through those closets, attics, and storage bins to find all your photos, videos, and important papers. Be sure to include:
Photo albums and loose prints
Slides and film negatives

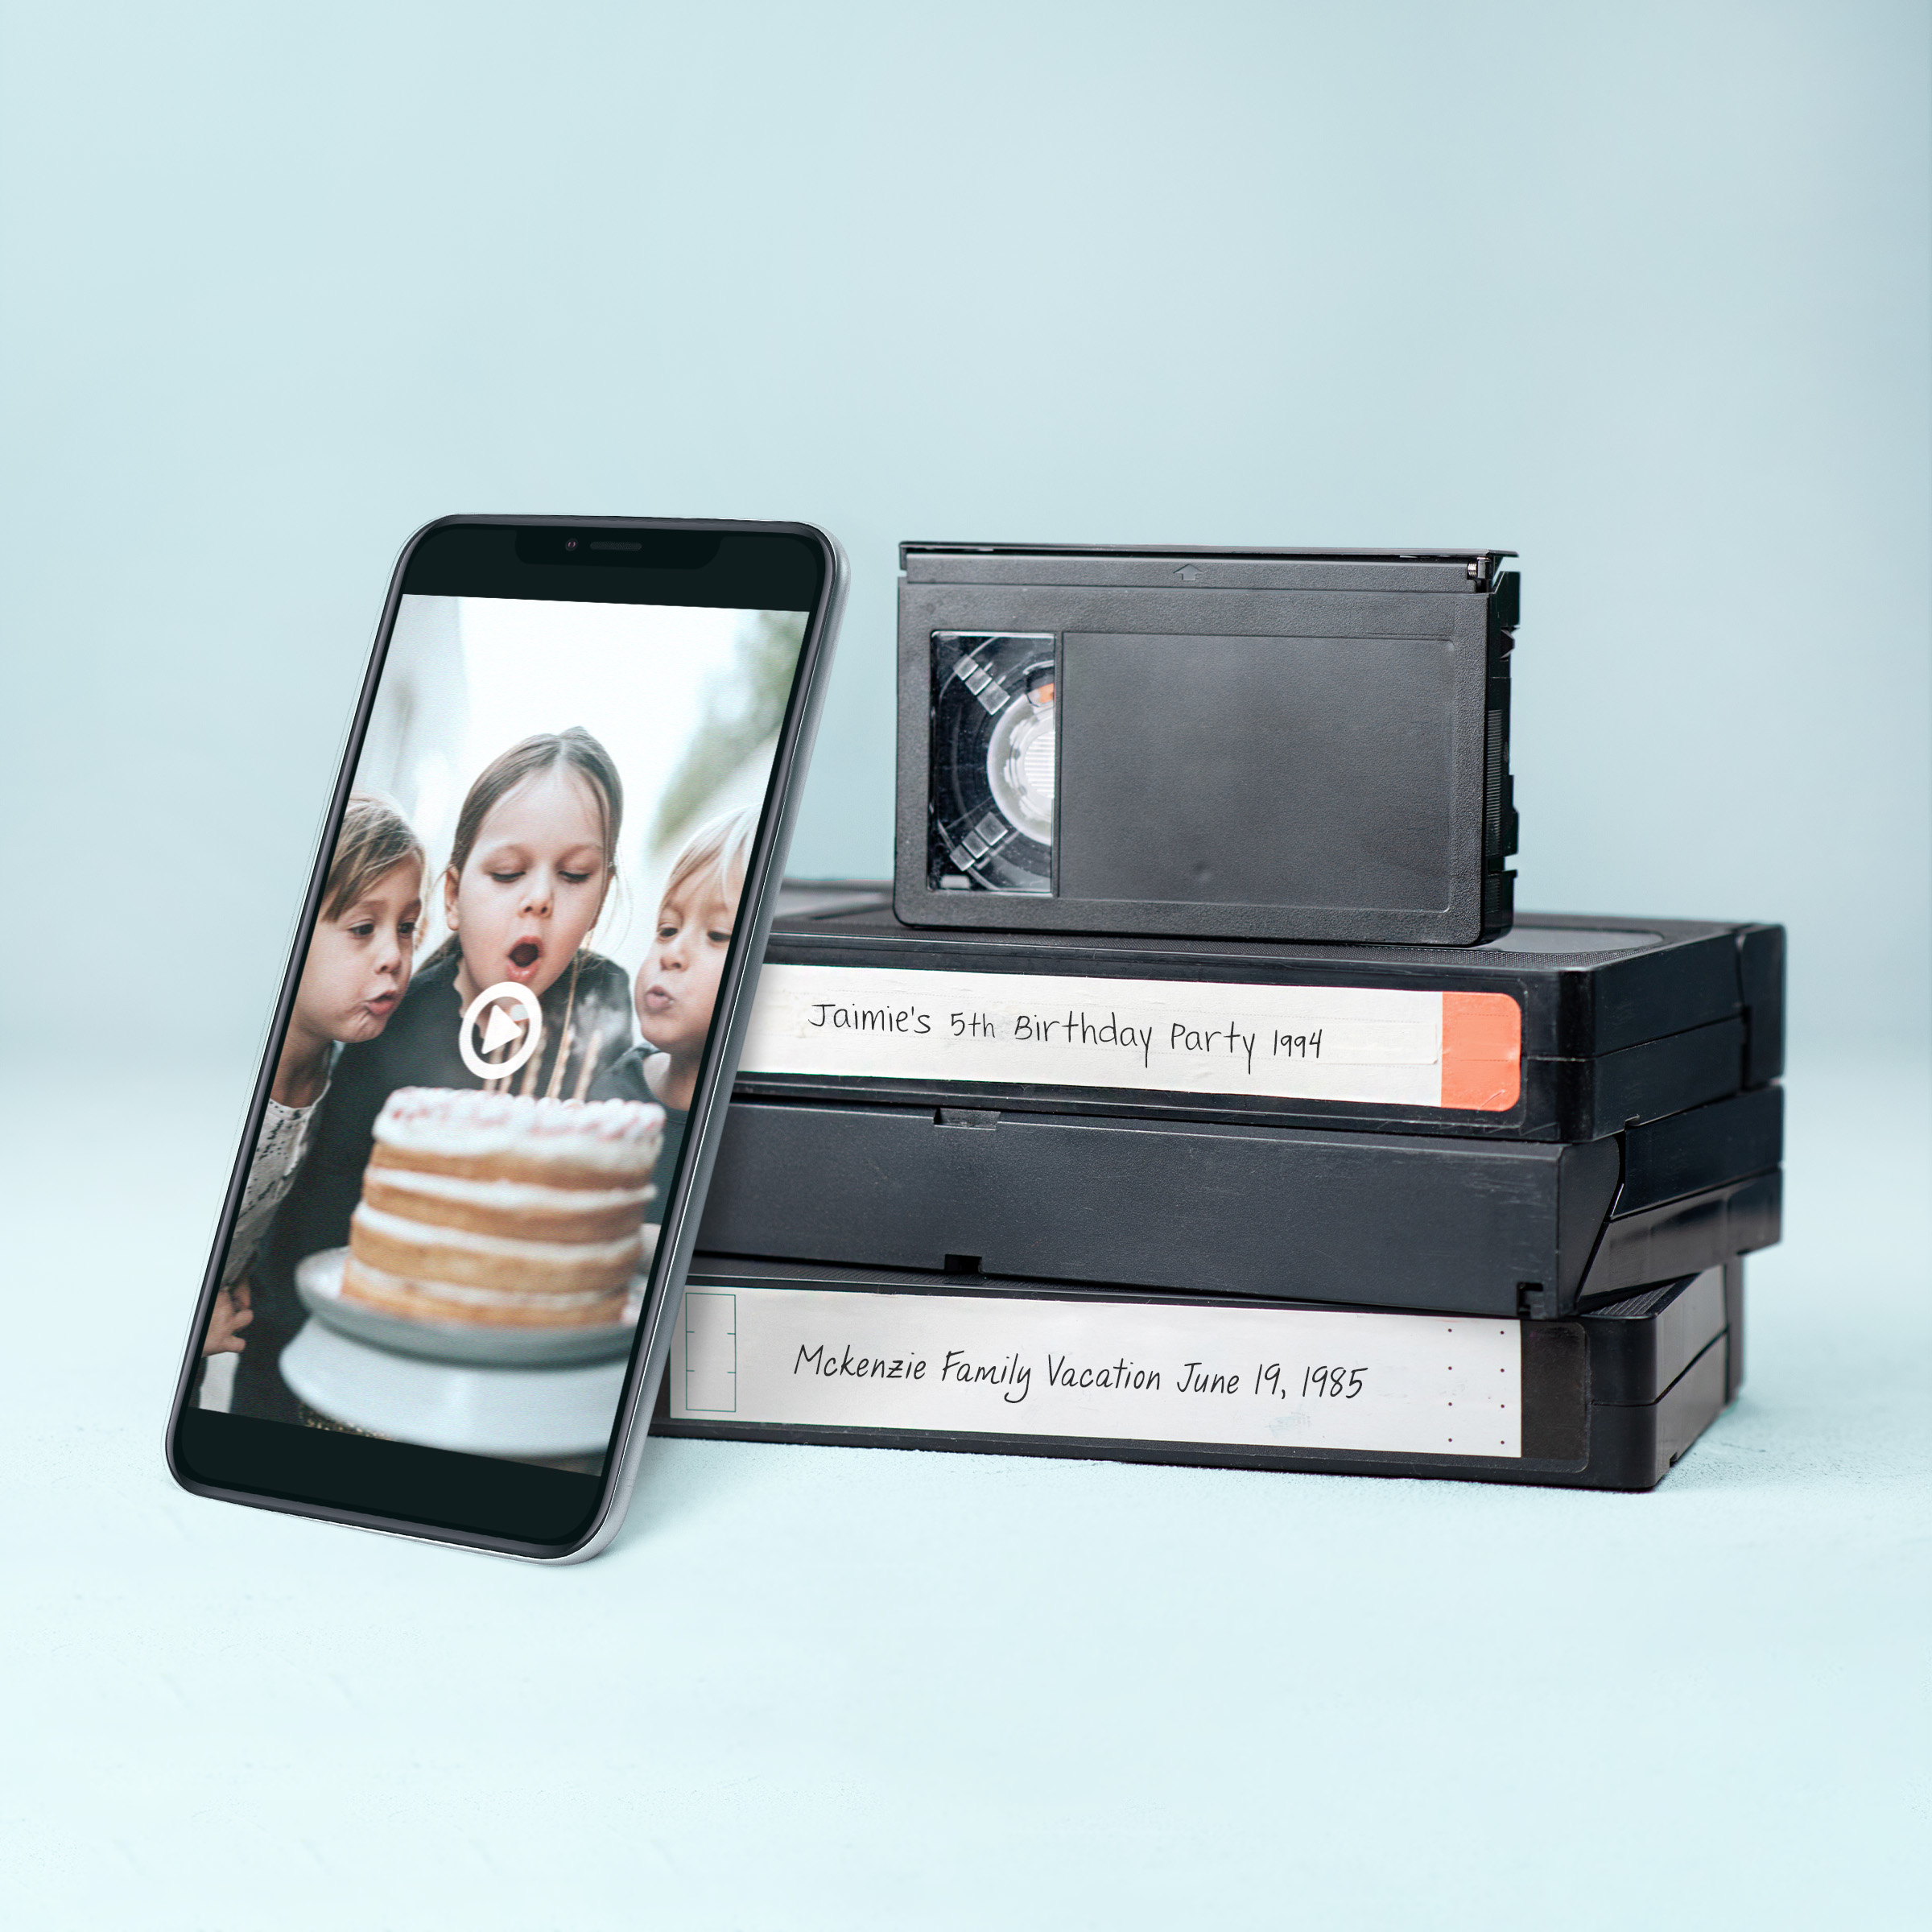
VHS tapes, reels, and other video formats
Documents such as certificates, letters, and family history records
2. Set Your Digitization Priorities
Once you’ve gathered everything, decide where to begin. Ask yourself:
What’s most important to preserve? Maybe you have old family films that are at risk of degrading, or you’d like to prioritize your grandparents’ wedding photos.
What’s easiest to start with? It’s okay to start small, like with loose photos or a single album. Getting an easy win can help build momentum!
3. Sort and Organize Your Memories
Before you digitize, it’s helpful to organize your materials. Sort by type (photos, videos, documents) and consider organizing chronologically or by event. This will make the digitization process easier and help you keep track of everything.
You will also sort your photos to get rid of duplicates and other photos that you don't want to digitize. Keep the photos that you love and that tell a story. A little organizing at this stage can save you a lot of time and money later!
4. DIY Digitization vs. Professional Digitization Services: Choosing the Right Approach
When it comes to digitizing your memories, you have two main options: doing it yourself or hiring a professional service. Each option has its own pros and cons, depending on how much time, money, and effort you’re willing to invest.
Option 1: Do It Yourself (DIY) Digitization
If you enjoy hands-on projects and want to save money, DIY digitization might be for you. Here’s what to consider:
Time Investment: Digitizing your own materials can be time-consuming, especially if you have a large collection. However, if you can dedicate consistent time each week, you can make steady progress.
Learning Curve: You’ll need to learn how to use scanners and software. Start small to get comfortable with the process, and consider using online tutorials or guides to help.
Equipment: Invest in a good-quality photo scanner. A photo scanner with high DPI (dots per inch) is essential for capturing details, especially for older photos. If you have videos, you may need a converter or specialized equipment.
Tips for Success: Work in a clean, dust-free area to avoid imperfections on your scans. Set realistic goals—digitizing an entire collection may take time, but breaking it into small tasks can make it manageable.
Option 2: Hire a Professional Digitization Service
If you’re short on time or want the best possible quality, hiring a professional digitization service is a great option.
Quality and Expertise: Professionals have access to high-quality equipment and software, which means better scans and enhancements. They can also handle delicate items like VHS tapes, film reels, and fragile documents with care.
Time Savings: One of the biggest benefits is the time you save. Instead of spending hours scanning, you can trust professionals to do it efficiently. You can then use your time to label, organize, and tell the stories that go with your photos.
What to Look For: Choose a service that provides high-resolution scans and image correction options. Make sure they handle your originals with care. Check reviews and ask questions to ensure your memories are in good hands.
Option 3: Hybrid Approach for Digitization
You don’t have to choose one approach exclusively. Many people find that a combination of DIY and professional services works best.
DIY for Easy Items: Handle the less delicate items yourself, such as loose photos or documents.
Hire Professionals for Complex Media: Leave fragile items like film reels, VHS tapes, and old negatives to the experts. This ensures they are digitized properly without risking damage.
5. Set Up Digital Storage for Your Digitized Memories
Once your materials are digitized, make sure they’re stored safely. Choose a reliable digital storage solution, like a FOREVER® account, to keep everything secure, organized, and easily accessible for your family. Consider creating albums by event or family member to keep things organized. Use facial recognition for easy tagging of the people in your photos.
6. Take Your Digitization Project Step-by-Step
Digitization can take time, but that’s okay! Set aside regular blocks of time to work on your project—even just 15 minutes a day can make a big difference. The key is to start and keep moving forward.
Break It Down: Focus on one category at a time. For example, start with photos before moving on to videos. Setting small, achievable goals can help you stay motivated and prevent feeling overwhelmed.

7. Share and Enjoy Your Digitized Memories
Once your memories are digitized, share them with family! Create photo books, share albums online, or make a slideshow for the next family gathering. Preserving memories is about making them easy to enjoy now, as well as safeguarding them for the future.
Start Your Digitization Project Today!
There’s no better time to start preserving your family’s memories. Taking that first step can bring peace of mind knowing your family’s story is secure for future generations to cherish.
Ready to Begin? If you need help getting started, or want to save time and ensure professional quality, reach out to learn more about our digitization services!

